 |
| This is the "easy " way to do it. |
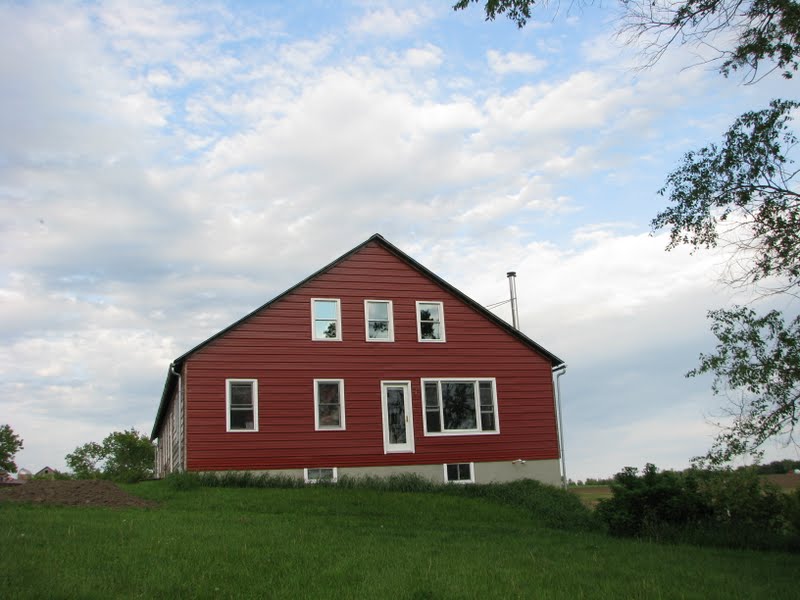 |
| All the windows are done now. Someday there will be a deck out that door too. |
 |
| Wouldn't want this job. |
|
| This is the "easy " way to do it. |
|
| All the windows are done now. Someday there will be a deck out that door too. |
|
| Wouldn't want this job. |
 Three windows done on the north side
 Steve fixing the hole from the old basement stairs
 New boiler for the radiant floor heat


 There are more pictures on his website of his home & the other structures he has designed & built. In the above pic of the greenhouse, the hanging planters are sections of gutters. The greens you see growing on the left are growing on pieces of steel siding (like we have on our barn). They also offer workshops at the farm.
  Door to the greenhouse at Gunderson's
The second home we saw was Sara & Joel's. I was really excited to see their home & wasn't disappointed. They have a greenhouse on the front of their home for passive solar heat. The only back up they have is the wood stove. Having a greenhouse attached to front of the barn is in our plans for the future. The wall in the greenhouse is painted black for maximum solar gain & they have shades that rise up & down on a thermostat so they can take heat with the sun even when not there. They also have a nice, well-producing garden. It is so nice of everyone participating in the tour to share their homes with us. A great learning experience. Maybe someday, our home will be on the tour, too.


 While Steve worked on the windows, I painted trim around the front door

The scaffolding worked great
Next, a new piece of siding was put into place & trim was put up.

Only eight more to go!
The rest of the windows should be a lot easier. It is a matter of taking one out & replacing it in the same hole. Except when we get to the smaller window that is also not evenly spaced. We only plan on replacing three this year (the 2 others next to the new one). They are in the new living area. Next spring we'll see about buying replacements for the rest of them. We have so many other projects to do to make it livable, which I'll keep you updated on.
While Steve worked on the window, he only needed my help sporadically, so I began applying polyurethane the windows we already have installed in the rest of the room.
Even though we would have liked to get all three windows in, it was a good feeling to at least get the hardest one done. We had visitors on Saturday so those breaks backed us up a bit. It's a good delay though when people visit.
I can't tell you how much difference it makes to not have the dreaded CAFO hanging over us. To work on a project & not have the thought in the back of your mind that you may never get to live out your dream is great! Back to making plans for the future.
They'll be farm news all week so stay tuned...
Bringing in the hay

 This is oak flooring from an old house that someone had taken up but never used. We knew we could use it at the farm someday. A portion of it will become stair treads on the stairs going up to the second floor. Today we sorted through it all, measuring for the size we need for the treads. There are 13 stairs & we need 6 strips to cover each stair. Seventy eight in all. Looks like we will only have to piece a couple of them together. The rest are long enough. Now it is just a matter of cutting them to size, gluing them together, staining & installing.

 It really is a huge space. The barn measures about 38 x 66. With three floors, that's a lot of square footage. Since we have the custom cabinet business, that will take up a big chunk of space. Our living area will only be around 900 to 1000 square feet on the main level with guest bedroom/craft area upstairs. Until we get the upstairs done, the room we live in right now will be for guests. Here is our son Shane, tearing down the dividing wall. Having no electric in the barn made it easier since we didn't have to worry about wires. The power tools we used were run by a generator
 The wall is down. It really opened up the room. We were also working on the windows.
 The oval object on the wall is a solar light.
  Blue jean insulation was added to the wall adjacent to our "living room".
  The only way to get to the basement was by the stairs that were under a heavy door on the floor. They were pretty shakey & I always worried about the door falling on my head. Here we had already taken down the basement stairs & were using a ladder.
 After many hours of planning the layout of the living area that we wanted,
 It was spring & was warming up, so we turned our efforts to outside projects & the garden. Then the accident kept us from traveling to the farm for a while & we had a lot of mowing, weed pulling & tending to the garden when we did get back to the farm. In August, Steve put up the bathroom walls. By October, we had plumbing.
 After a year and a half of using a sawdust toilet & a solar shower,
 And finally the stairs.
 We used it as a loading dock of sorts at first.
 It wasn't in our plans to keep it, so off it went.
 The landscaping was done next. A new driveway was put in & everything leveled off.
 Steve put in the new front door.
 Then the windows (bathroom & bedroom) , Tyvek & insulation next.
  Then replacing the siding. We re-used some from a pile left
 The finished product. The other doors are to, at the far left,
 Really basic, this was the Amish family's kitchen area. They aren't allowed to have any cabinets attached to the walls. The floor is simply plywood stained with linseed oil. The other end of the room was the mother-in-law's sleeping area. All curtains that were on the windows were black throughout the whole barn.
 We brought up some furniture from home & a campstove to cook on. A cooler for a fridge. I made white curtains out of sheets. The gate in the photo was to keep Ginger (our blind & deaf dog) from wandering out of the room. Here's Steve cooking up some breakfast.
 We were given a customer's old cabinets & put them to good use in the kitchen.
 Next came the painting.
 Then the bottom cabinets and a counter top were installed.
 Then the wood stove. It's a soapstone. When fully loaded, it will
 Steve's dad Joe came up to help us & they put jam liners around the
 We bought a used door at the Re-use It Center near us in
 Here is a newer pic of the room. Those windows face south for great solar gain.
 Here is the other end of the room. Since this was taken, we have


